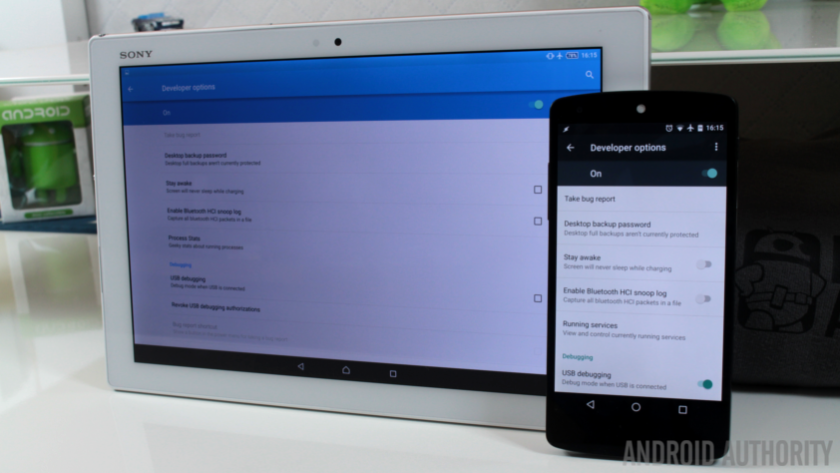
If you desire to take a bit more control of your Android device
but aren’t sure where to start, might we suggest looking at Android’s
built-in Developer Options?
Let’s quickly look at how to enable Developer Options, then we’ll
backtrack and discuss why exactly you would want to enable these
features and what you can do with this new found power.
- How to download and install Android SDK
- What is Android?
- How to toggle battery percentage and Quick Settings in Android 6.0
The following steps are for nearly any version of Android out
there. We worked from both a vanilla Android experience, based on
Android 6.0.1 Marshmallow on the Nexus 6P, and Android 5.0.2 Lollipop on
the Sony Xperia Z4 Tablet. We have been using Developer Options on a
number of Android devices for a long time now – this article was
previously written based on Android 4.4.4 KitKat – while a few features
have changed, the process to activate Developer Options has not.

- First, open up your Settings app.
- Scroll all the way down to find “About phone” (or “About Tablet”)
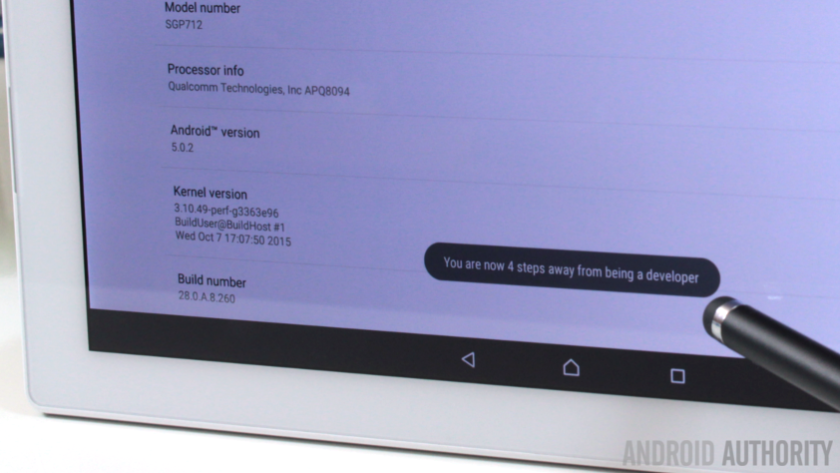
- Scroll down again and find the entry with the Build number.
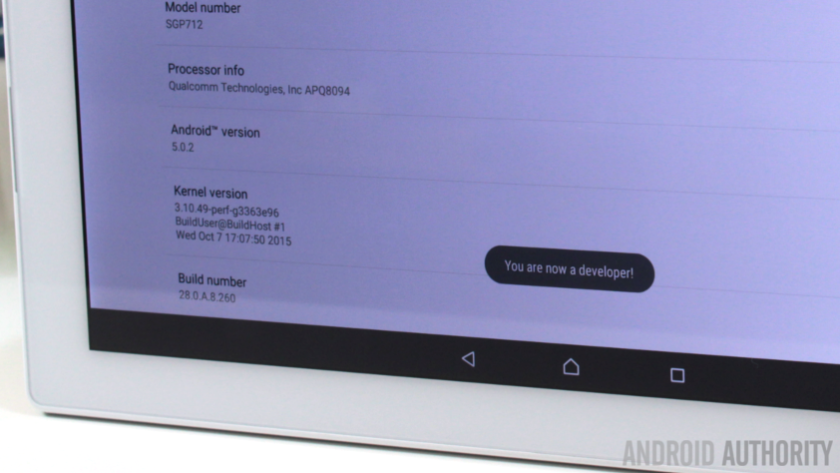
- Start tapping on the “Build number section”, Android will now pop up a message informing you that in x amount of clicks you will become a Developer. Keep tapping until the process is complete.

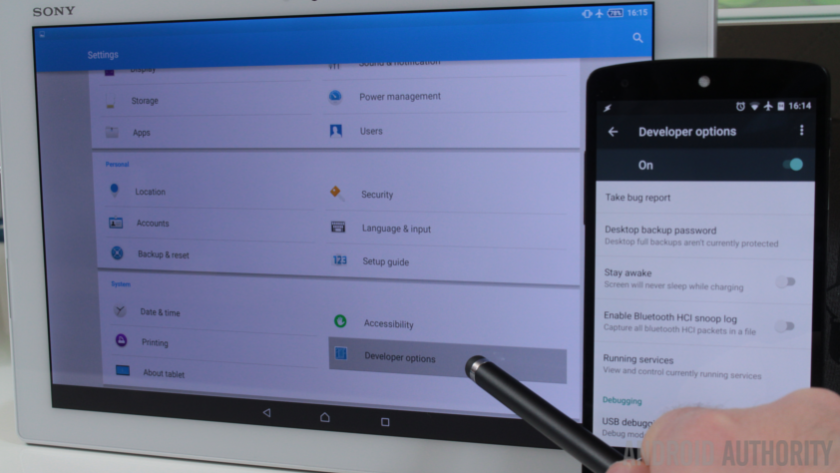
With that out of the way, head on back to the main Settings
menu and you will now see “Developer options” listed. For me it was the
second to last entry.
What are Developer Options good for?
Allow me to begin with a warning. Developer Options contains a
number of items that truly are for trained professionals. Please do not
change anything if you do not understand what it does. At the very
least, take note of the default setting and be prepared to come change
things back if anything goes wrong.

Now, as the name implies, Developer Options are a set of tools
and settings designed to assist an app developer in optimizing their
products and tracking down errors. For example, the option called
Pointer location provides a precise reading of user input. While this is
great for a developer that needs to understand touch location and
movement, the overlay is fairly unusable for your everyday computing.
Instead, perhaps Show touches would work for you. You’ve seen the
result of Show touches before, it is that little white dot that is
present in many of our Android customization articles.
Apps like Helium backup
require that you turn on USB debugging, which is also found in this
list. We won’t spend any more time digging through this list, there are
many options, most of which will not do you any favors for your day to
day. Of course, with a few careful tweaks, one could dramatically
improve, or destroy, their Android experience.
Are there any Developer Options that you always turn on for your devices?


This was very helpful...saved me some hassle :)
ReplyDelete